http://modestmaven.blogspot.co.uk/2012/02/bi-fold-wallet-tutorial.html
To make a wallet style purse like this:

I chose my colours... here pictured with labels of sizes:
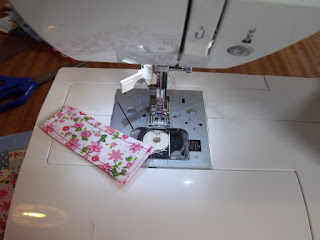
After applying interfacing to the required bits, I sewed up the tab, and snipped off the corners.
Turned it right side out and ironed and stitched around the edge
Sewed 3 sides of the lining (for the section for bank notes) - leaving a gap open for reversing the whole thing later. Top edge not sewn at this stage either.
Next took the long strip for the credit card section. Set a paper card up 4" down.
Folded the 4" back underneath and ironed.
Then flipped the material over the card (keeping it in place as a marker) and ironed the fold created.
Pulled the material back down, and, leaving small bit of the card visible folded & ironed again.
Repeated the flip up over the card & ironed again.
And down again and iron.
Made a total of 4 folds (3 card pockets) like this. Ironed all in place.
Ran a line of stitching up either side and trimmed excess.
Next the coin pocket. I decided to add interfacing to the whole outer section and also the flap end of the inner. Trimmed the flap end to a slightly narrower and rounded shape.
Stitched 3 sides, right sides facing.
Turned inside out. Then stitched the middle section of the coin pouch to one side of the wallet inner, leaving an offset as shown.
The second side was likewise stitched down. As the pocket does not lie flat (ie it can bulge with coins) I took a fold in the centre of the material, and stitched it down.
Turning up the front of the coin pouch, shows the extra room this leaves for coins.
Both sides were then stitched down. The card holder section was stitched into place on the opposite side.
Next tab, that will close the whole wallet, was stitched to the inner. The side that will be outermost, left uppermost!
Then the outer is placed on top of the inner and stitched down on 3 sides.
Next it is turned right way around.
And the outer (right side out) is placed inside the lining (wrong side out).
The outer may need to be doubled over at the bottom to make it fit, this is okay.
The edges are joined. This is the fiddliest part of the whole project. Once stitched, use the gap left in the lining to pull the main part of the wallet through....
It should look like this.
Sew up the hole in the lining by folding the rough edges under and over stitching. This bit will be hidden inside the bank note section.
Now all I need to do is add fastenings - I will use velcro I think.
Well it's not perfect, but I'd a load of fun doing it! :)
PS I sewed on velcro after making the wallet - but this would have been much easier done during the making-up stages!


No comments:
Post a Comment
Thank you for visiting my blog. I'd love to hear what you think so please do leave a comment - or even just a smile.... :-)