So hopefully this dog bed will be less hassle than the first (see previous post!).
This material was stuff I bought on ebay that didn't quite live up to what I was expecting. I started by cutting 2 oval shapes.

And marking on two inner oval shapes.

Then - good sides facing - stitching the outer hem.... just leaving enough for eventual stuffing.

Right side out again, and I next stitched the two chalked ovals - leaving a gap for stuffing.

Inner stuffed and gap stitched.
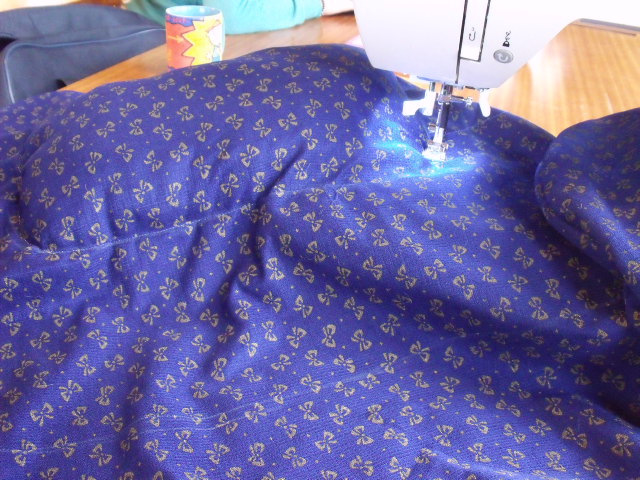
And same for the next oval shape, and the start of stuffing the outermost ring.

It takes quite a lot of stuffing. Luckily I also made a mistake with amounts when ordering stuffing material for soft toys.... can you SEE how much I ended up buying! Oops!

Perhaps you noticed one of my companions on the window ledge in the photo above. This is Honey, in the terriers' favourite spot when the heating is on!

And "No" the nice bed I made yesterday is not better!

Back to today's dog bed. Finally stuffed and the gap stitched. Even by hand this is a rather tiresome task, and I felt like I was wrestling with the whole thing to keep the stuffing in and the fabric closed.

Ta Da! Finished!

And put into the plastic bed.... now just to tempt some terriers in to it.

Which is not as easy as it might first seem. I had wanted a line up of 3 terriers in the bed.... It's not going to happen!

Tim decides to try and give them the idea.....

But claims it's not so comfortable!

Patsy finally agreed to stay put for a minute.... under sufferance!

But later looked a bit happier.

Awww... that's my cute lil pup!

Hope you enjoyed the sequence.... hardly high fashion sewing, but it used up an annoying bit of polyester fabric, and means I can now throw out the old chewed blankets that were there before.....


